2,366 views
When it comes to lash extensions, we have to mention DIY lash extensions, which are trending nowadays, and this is a complete guide to DIY lash extensions.
Have you heard of DIY lash extensions? Applying lash extensions is much more difficult and complicated than regular strip lashes, which requires safety training, lash extension certification, and many years of practice experience.
This is why DIY lash extensions were invented, an alternative to professional lash extensions. You can enjoy a perfect lash extension look without going to the lash salon.
What Are DIY Lash Extensions?
DIY lash extensions are false lashes that can be applied at home by yourself, without needing a professional lash technician. DIY lash extensions are made of strips of lash fibers with semi-permanent adhesive, but not as strong as the professional lash adhesive glue.
Compared with other types of lash extensions, DIY lash extensions are suitable for daily lash looks. It’s much easier for clients to do lash extensions at home, without going to find an experienced lash technician. DIY lash extensions are the best alternative lash extensions to get an “extension lash look” with a lower budget.
Compared with customized individual lash extensions, DIY lash extensions can offer the effects of lash extensions for one day. DIY lash extensions aren’t long-lasting like the lash extensions, but you can get a quick lash look at home.
DIY Lash Extensions Vs Strip Lashes
Several Parts: Strip lashes are made of single strip lashes, but DIY lash extensions come in several short strips, clients can use the tweezer to hold the DIY lash fibers to apply in one section of eyelids.
Of course, you can use the scissor to cut strip lashes into 4 or 5 pieces, then apply them in the front, middle, and end of eyelids. Compared with the strip lashes, DIY lash extensions are much more customizable, they can be applied closer to lash line.
Long-lasting: You need to remove false strip lashes every day before you go to bed, but DIY lash extensions can be worn for some days due to the semi-permanent lash adhesive.
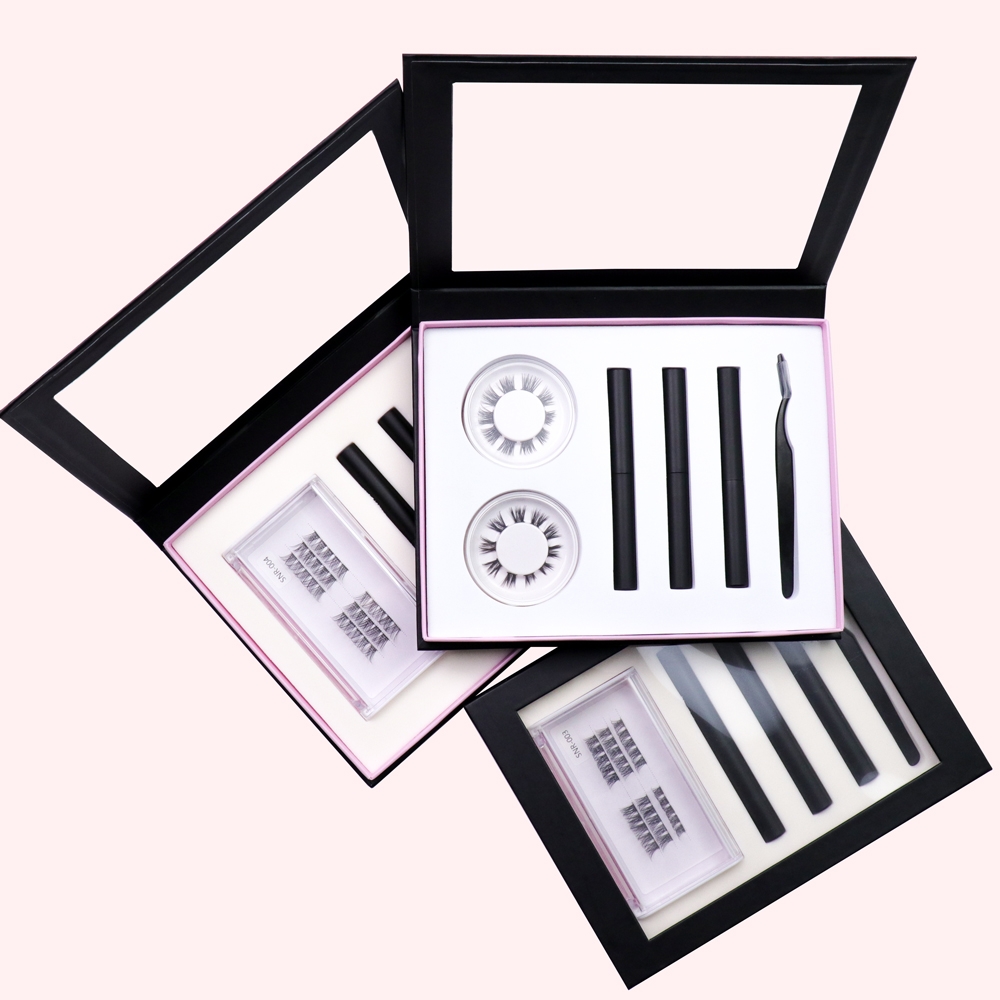
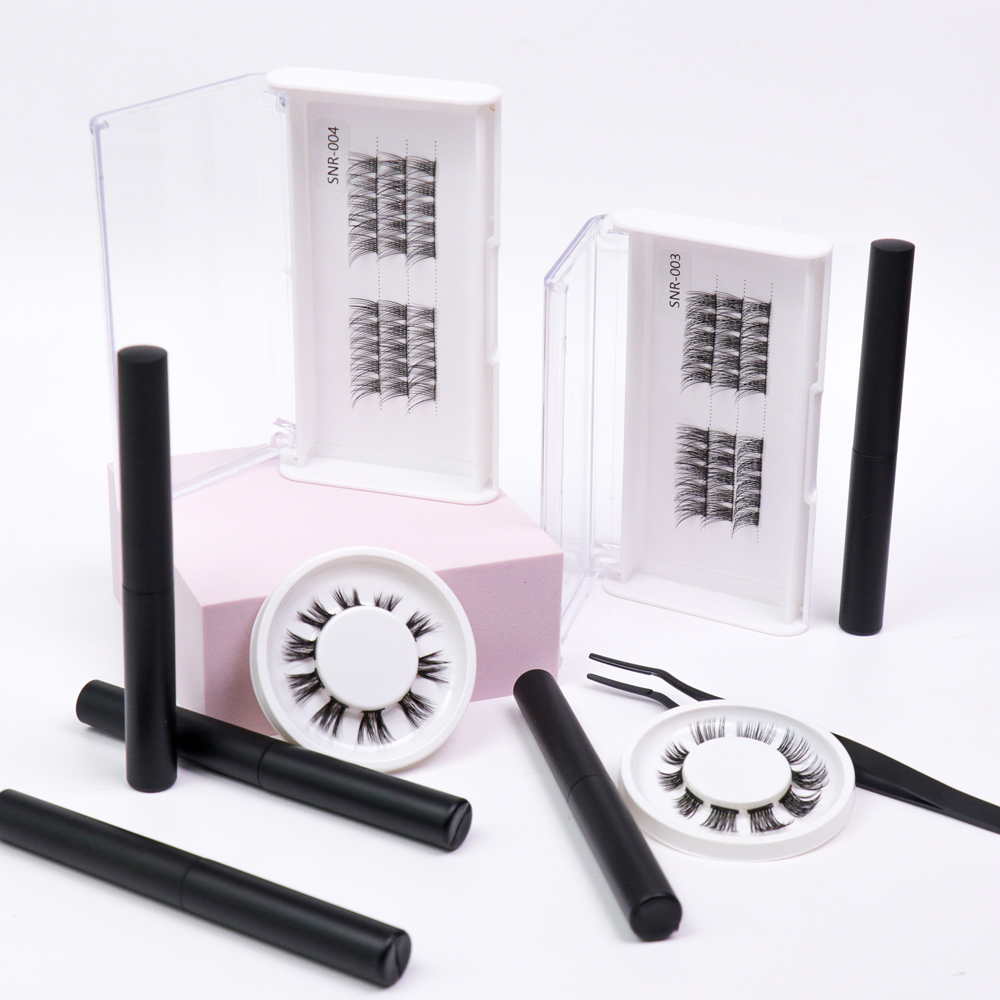
Here are some types of DIY lash extensions that you can get from our one-stop lash manufacturer.
Ribbon DIY Lash Extensions
Ribbon DIY Lash Extension Sizes
- Lash Band: 0.10mm
- Lash Diameter: 0.07mm
- Length: 8mm, 10mm, 12mm, 14mm, 16mm, and mixed lengths
- Segment: 28
Ribbon DIY lash extensions are the trending DIY lash extensions, bonded together with many lash clusters, to get a lash ribbon.
The lash ribbon is made of PBT (polybutylene terephthalate) plastic fiber. Super soft and comfortable to wear. Ribbon DIY lashes are the best lash extensions for those clients who prefer to create a natural lash look at home.
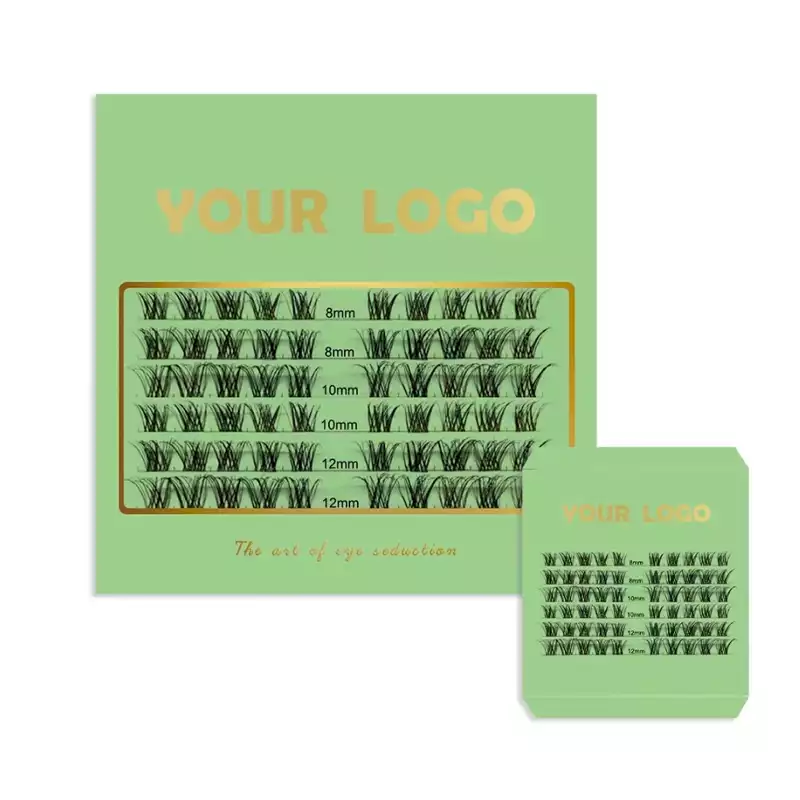
Segment DIY Lash Extensions
Segment DIY Lash Extension Sizes
- Lash Band: 0.10mm
- Lash Diameter: 0.07mm
- Length: 8mm, 10mm, 12mm, 14mm, 16mm, and mixed lengths
Segment lash extensions are pre cut into some segments, and segmented lash extensions are much more convenient for you to apply them to your natural lashes.
A full set of lash extensions consist of 4~5 lash segments, and each segment lash is different for different section of your eyes.
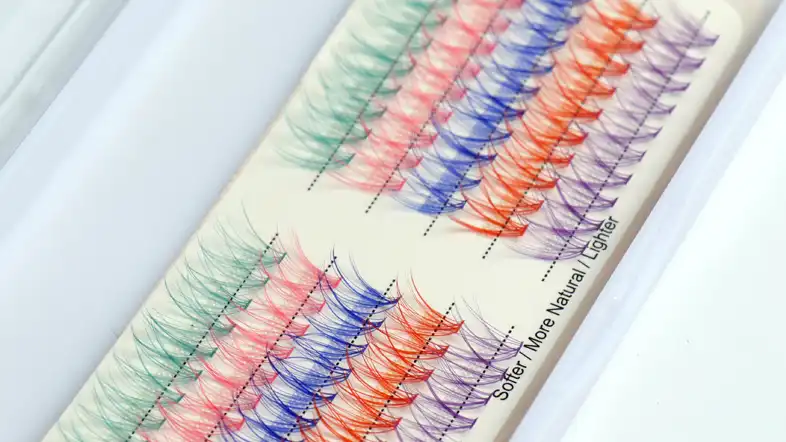
Cluster DIY Lash Extensions
Cluster DIY Lash Extension Sizes
- Lash Band: 0.10mm
- Lash Diameter: 0.07mm
- Length: 8mm, 10mm, 12mm, 14mm, 16mm, and mixed lengths
- Pre cut is supported
Cluster DIY lash extensions are pre-cut lash extensions, that are similar to the segmented lash extensions.
How to Apply DIY Lash Extensions?
Start with clean skin, you need to clean your eye skin carefully, to avoid potential infection. And ensure the DIY lash extension kit tools are clean too.
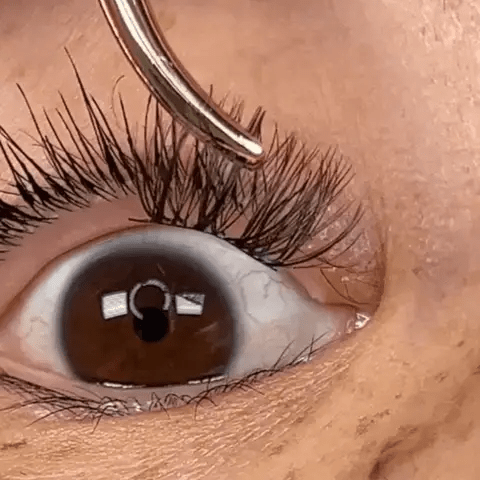
- Step 1: Peel off the DIY lash extension clusters from the container carefully, and don’t do any damage to the lash fibers.
- Step 2: Use the S-shaped tweezer to grab the lash cluster from the lash root, please don’t touch the lash hair while you hold DIY lashes.
- Step 3: Make a plan about the order you’ll apply DIY lash extensions, which section is first, and then second. This step requires lash mapping, you can apply the DIY lash fibers following the lash extension map. For example, shorter DIY lash extensions are applied in the inner corner and longer in the outer corner if you prefer a cat-eye lash look.
- Step 4: Dip a drop of black lash adhesive glue, and hold the root of DIY lash extensions into lash glue. Don’t make lash glue touch the lash hair. This step is much more complicated, you can peace sometimes get a habit of bonding lashes, without shaky hands.
- Step 5: Then apply the DIY lash extensions on the natural lashes in the sparse section of your eyes. You can look downward in the mirror to see where you can apply the DIY lash clusters below your natural lashes. You’d better leave a 2mm gap between the lash band and the bottom of your lash line.
- Step 6: Repeat the same thing after finishing one DIY lash cluster. Finally, you can use your fingers or tweezer to press DIY lash extensions and natural lashes, to hold them together for 3~5 seconds, and then release them. This way can ensure DIY lash extensions can be blended well together with real lashes.
- Step 7: You can apply a coat of lash sealer to provide a protective layer to DIY lash extensions, to make them stay up longer.
Briefly, 4 easy steps to complete the DIY lash extension application.
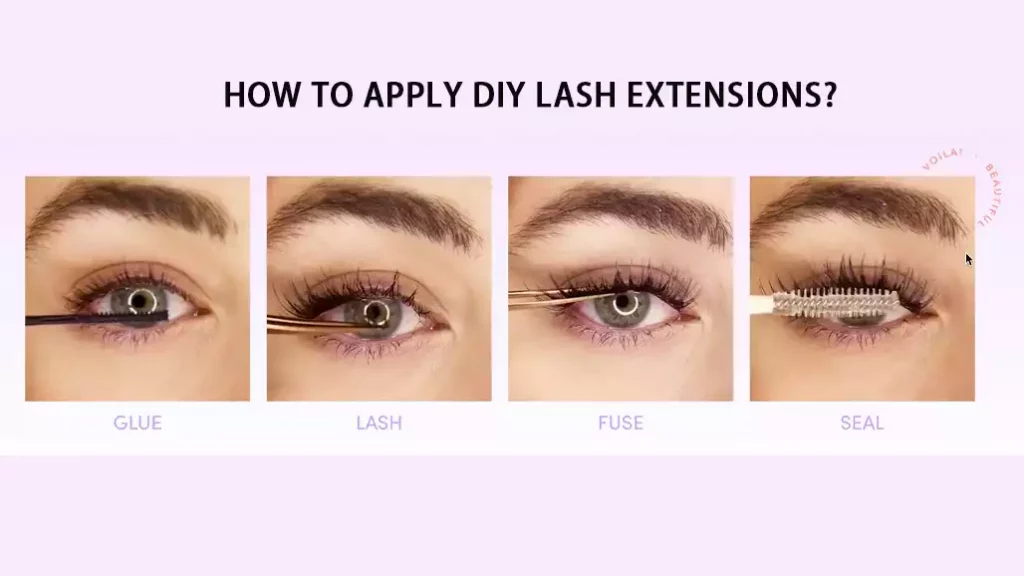
- Glue: Apply the lash adhesive to DIY lash extensions for bonding them to your eyelids.
- Lash: Apply DIY lash clusters to your eyelids, following the right order to apply them.
- Fuse: Use a lash wand to fuse DIY lash extensions together with real lashes.
- Seal: Apply a coat of lash sealer to protect DIY lash extensions, to make them stay up longer, without falling out easily.
Are DIY Lash Extensions Safe?
DIY lash extensions are safe, due to safe raw materials and safe lash adhesive. You can do an allergy test before applying DIY lashes, to ensure the lash adhesive is safe for you.
Things first, please ensure all things are clean and tidy during the application process, to avoid the potential bacteria and lash mites. Wash your DIY lash extensions on a daily basis, to keep your lash clusters clean and tidy all day.
Can You Sleep with DIY Lash Extensions?
Yes, DIY lash extensions can stay on your eyes for several days and could be 2~3 days with proper care. So you can sleep with DIY lash extensions at night.
But please be careful about the sleeping gesture, to avoid pressing your face into the pillow, or you’ll find that your DIY lash extensions fall out from your eyes. Sleep on your back can protect your DIY lash extensions well.
Final Thoughts
What do you think about DIY lash extensions? Do you want to try them to get a perfect lash look? Please feel free to chat with us to get your desired DIY lash extensions now.