1,542 views
You’re here because you’re serious about lashes — and trust us, so are we.
Making lash fans isn’t just a skill. It’s a blend of precision, creativity, and craftsmanship.
At our factory, we live and breathe lashes every day, and we know exactly what it takes to craft fans that are fluffy, even, and absolutely stunning.
If you’ve ever admired those perfect, symmetrical lash sets and wondered, “How to Make Lash Fans?” — you’re about to unlock the secrets.
And guess what?
You don’t need to be born with magic hands.
With the right guidance (and a little patience), you can become a lash fan master, too.
Why Trust a Professional Lash Fans Manufacturer?
Here’s the thing — we’ve been in the trenches.
We’re not just a lash brand.
We’re manufacturers who produce millions of premium lash fans every year for top lash artists around the globe.
Our factories use rigorous quality control, expert techniques, and specialized equipment to ensure consistency, beauty, and durability in every fan.
When you learn from a true manufacturer, you’re getting techniques that are battle-tested — not just pretty theories.
And honestly?
We want you to succeed because your success reflects the quality of our craftsmanship.
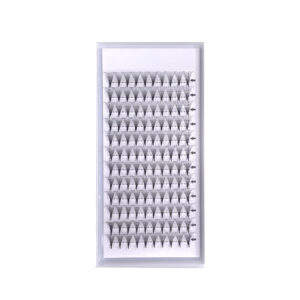
What is a Lash Fan?
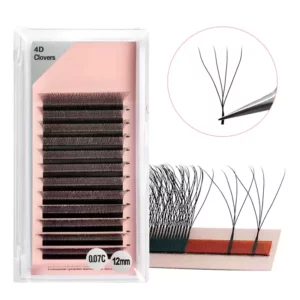
A lash fan is a group of individual eyelash extensions carefully arranged and bonded together at the base to create a “fan” shape. Lash fans are essential for creating volume and mega volume lash sets, where multiple lightweight extensions are applied to a single natural lash.
Each fan can contain anywhere from 2 to 16 lashes, depending on the desired look and technique. The goal is to increase fullness without adding excessive weight, ensuring comfort and natural lash health.
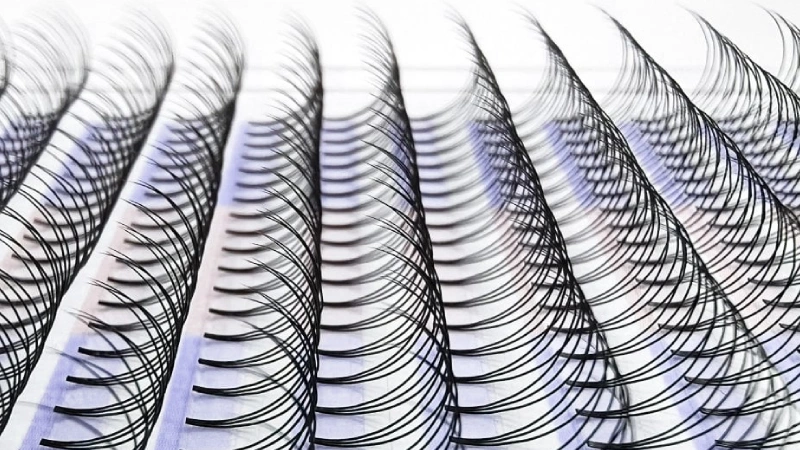
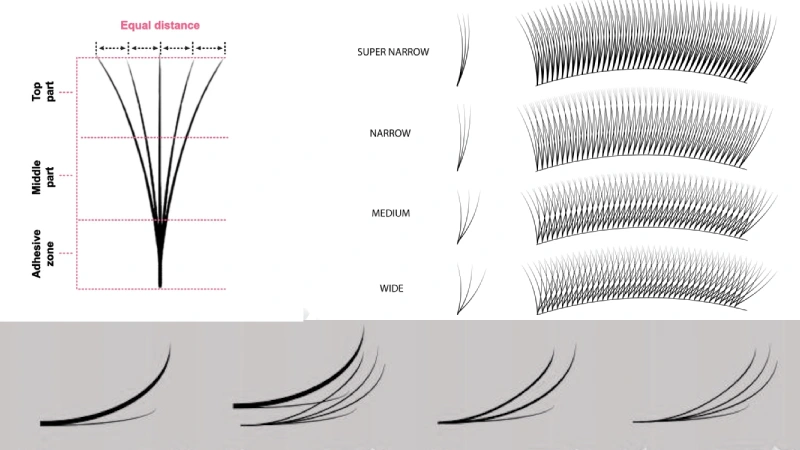
Lash fans are either handmade by lash artists during the application process or purchased pre-made from trusted manufacturers like us. High-quality lash fans feature a sharp, narrow base and symmetrical, evenly spaced lashes that spread beautifully across the lash line.
When crafted properly, lash fans deliver a fluffy, dark, and luxurious effect that dramatically enhances the eyes while maintaining a soft, lightweight feel. They are a true art form within the eyelash extension industry.
Lash Fan Essential Materials and Tools You’ll Need
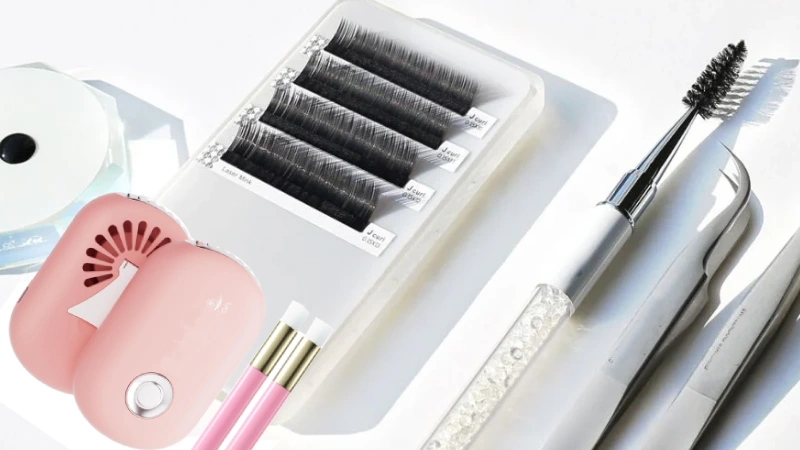
Before we dive deep, let’s get you set up properly.
Here’s what you’ll need:
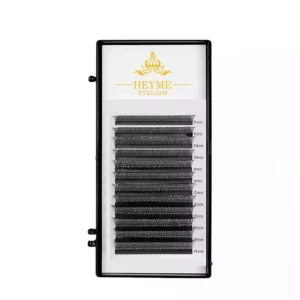
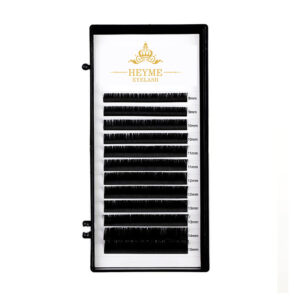
- High-quality lash strips (preferably Korean PBT fiber)
- Precision lash tweezers (straight and boot-shaped)
- Lash adhesive (low-viscosity for fan making)
- Silicone pad or lash tile
- Lash glue ring or palette
- Nano mister or small fan (for drying)
- Practice mannequin head (optional but helpful)
Lash Fan Types and Styles
Not all fans are created equal — let’s break it down.
Handmade vs Premade Fans
- Handmade Fans: Created during the extension application. Customizable but time-consuming.
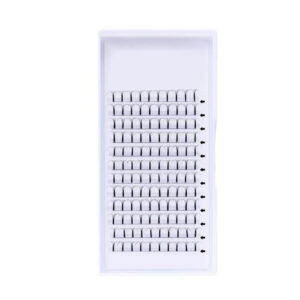
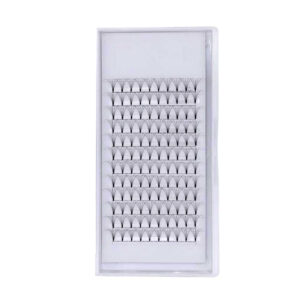
- Premade Fans: Manufactured ahead of time. Saves application time but requires skill to place properly.
Wide vs Narrow Fans
- Wide Fans: Great for fluffy, dramatic looks.
- Narrow Fans: Ideal for dense, eyeliner effects.
Different Curl Types
- C Curl: Natural lift
- D Curl: Dramatic and bold
- L Curl: Perfect for straight lashes
Understanding these basics will help you tailor fans to different client needs.
Make Lash Fans Step-by-Step Guide: How to Make Lash Fans
Alright, time to roll up your sleeves.
Let’s walk through this slowly — and make it detailed.
Step 1: Set Up Your Workspace Properly
Clear your table.
Lay out all your tools neatly.
Place your lash strips on a lash tile angled slightly for easier access.
Lighting matters. Use a bright LED desk lamp to see every detail.
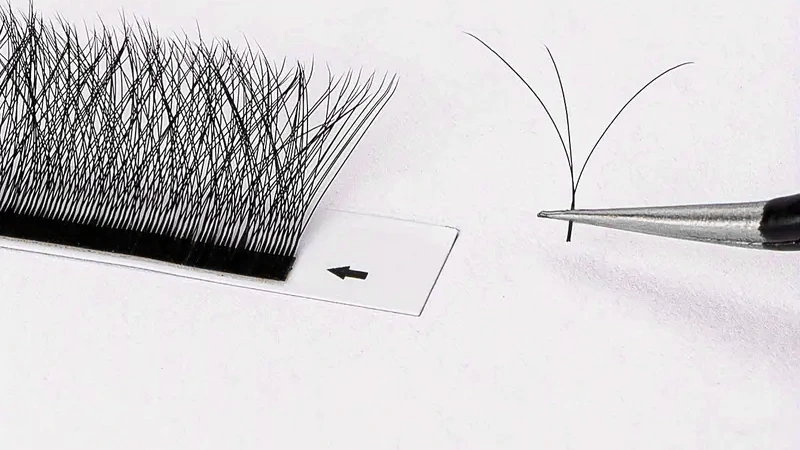
Step 2: Pick the Right Lash Strip
Choose a strip where lashes are evenly spaced and not too sticky.
Gently lift a small section with your tweezers, feeling the softness of the fibers.
The way lashes are attached on the strip greatly affects how easily you can fan them.
Step 3: Choose the Perfect Tweezers
Tweezers aren’t just tools — they’re your best friends.
Pick tweezers with:
- Good tension (not too tight, not too loose)
- A sweet spot (area where the tweezer grips lashes perfectly)
Test them by picking up a few loose lashes and giving a slight wiggle.
No slipping? You’re good.
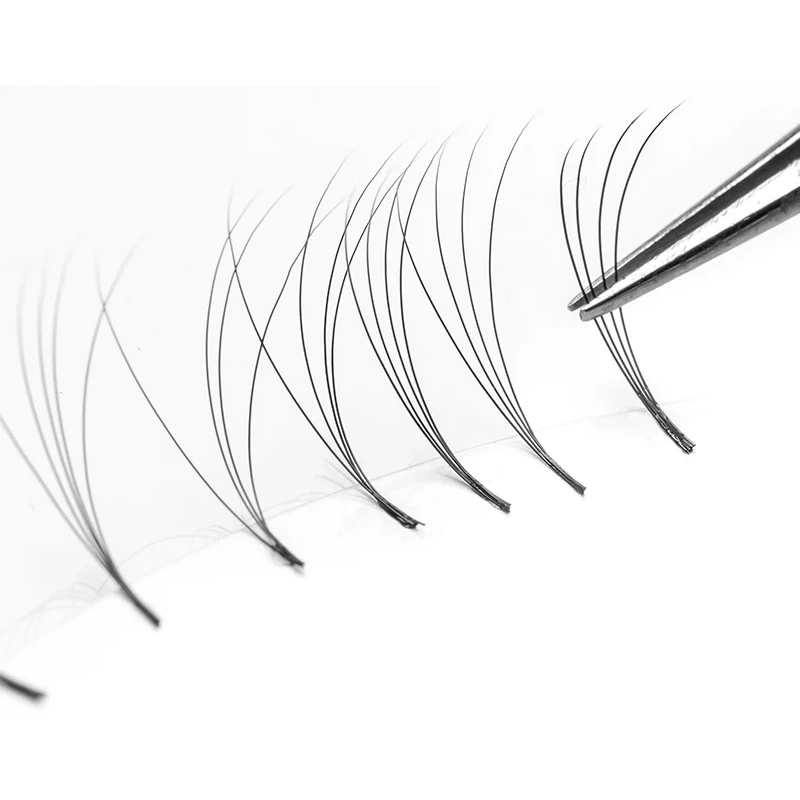
Step 4: Master the Pinching Technique
Here’s the magic moment.
- Grip a small cluster of lashes.
- As you lift off the strip, lightly pinch the base between your tweezers.
- Watch the top of the lashes spread into a beautiful fan!
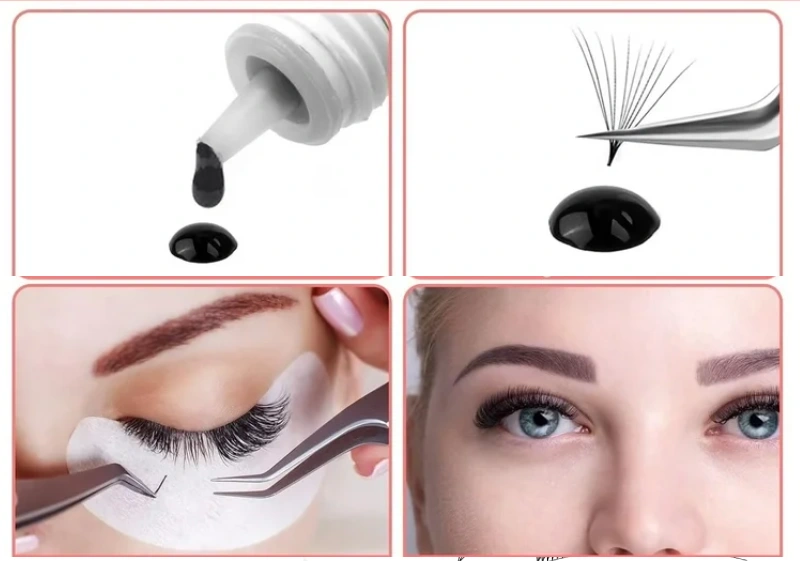
Step 5: Control the Adhesive Application
Dip just the very tip (1mm) of the lash base into your adhesive.
- Too much glue? It’ll clump.
- Too little? The fan won’t bond.
Slowly swipe against the glue ring surface to remove any excess.
Step 6: Dry and Fan Out the Lashes
After dipping:
- Place the fan on your silicone pad.
- Let it air dry for 10-20 seconds.
You can also gently mist with a nano mister for faster setting.
Step 7: Practice for Perfection
Let’s be real — your first 10 fans might look… weird.
But every pro was once a beginner.
Practice fanning different lash thicknesses and strip brands to build versatility.
Make Lash Fans Tips
Even the most talented lash artists stumble at the start. But when you know the pitfalls, you can dodge them like a pro.
Gripping Too Hard
Heavy pressure squashes the base of the fan, making it look messy or uneven.
Solution: Practice gentle, controlled movements. Think of it as hugging the lashes, not strangling them.
Using the Wrong Tweezers
If your tweezers don’t have the right “sweet spot,” fans will collapse or close up.
Solution: Invest in professional-grade, tested tweezers — the kind we manufacture with strict standards.
Too Much Adhesive
Flooding the base with glue causes fans to stick together.
Solution: Dip only the very tips of the lashes, and always swipe off excess.
Uneven Tension While Fanning
Pulling lashes unevenly when lifting from the strip leads to crooked fans.
Solution: Use even, steady pressure with tweezers while lifting.
How to Customize Lash Fans for Different Eye Shapes
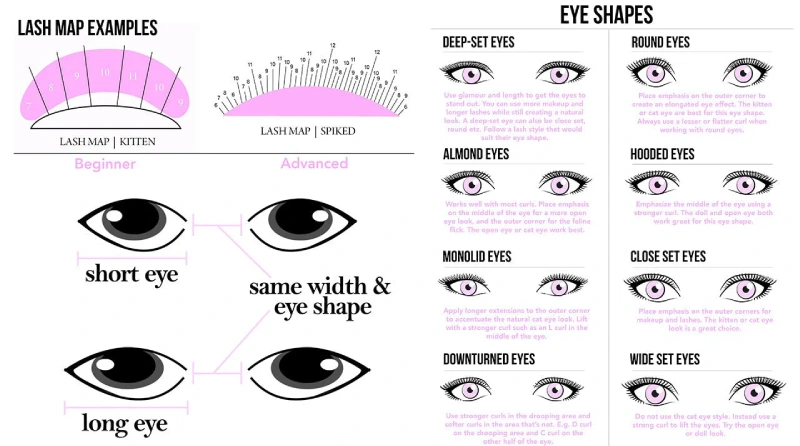
Customizing fans isn’t a luxury — it’s a necessity for breathtaking results.
Different eye shapes call for different fan widths, lengths, and curls.
| Eye Shape | Customization Tip |
|---|---|
| Almond Eyes | Almost any style works. Use a mix of narrow and wide fans. |
| Hooded Eyes | Use stronger curls (D or L) and slightly narrower fans for lift. |
| Round Eyes | Focus on natural C curls and medium-width fans to balance openness. |
| Downturned Eyes | Create a cat-eye effect with longer fans at the outer corners. |
| Monolid Eyes | Lift with bold L curls and create more density using smaller, layered fans. |
Why choose our Lash Fans
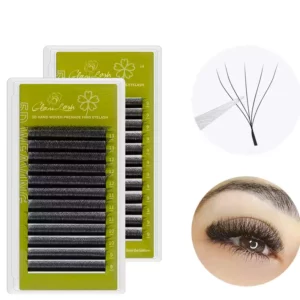

When you choose our lash fans, you are choosing industry-leading quality, precision, and reliability. As a professional lash fan manufacturer, we use only premium Korean PBT fibers, ensuring every fan is ultra-soft, lightweight, and perfectly shaped. Our advanced production techniques guarantee consistent curls, sharp bases, and flawless symmetry — essential for stunning lash extension sets.
We understand the needs of lash artists because we collaborate closely with professionals during every stage of production. Our fans are handcrafted and rigorously inspected by experienced technicians to ensure maximum durability and beauty. Whether you specialize in volume, mega volume, or hybrid sets, our lash fans offer effortless application, better retention, and a flawless finish.
Beyond superior products, we provide unmatched customer support, fast delivery, and custom solutions tailored to your brand or salon needs. Every tray of lash fans is produced under strict quality control systems that reflect our commitment to excellence.
Choosing our lash fans means giving your clients the very best — enhancing your reputation, speeding up your application process, and ensuring every set you create stands out.
Trust the manufacturer that lash artists worldwide rely on. Choose our lash fans — because your artistry deserves the finest tools.
FAQs
What are the best lashes for making fans?
For making beautiful, consistent lash fans, the best choice is high-quality PBT fiber lashes with a matte finish and a thickness of around 0.05mm to 0.07mm. Particularly for beginners, lashes in the 0.05mm range offer the perfect balance: they’re lightweight enough for easy fanning, yet sturdy enough to maintain their shape without collapsing.
We recommend using lashes made from premium Korean PBT, like the ones we manufacture. These fibers are heat-treated for curl stability and have a soft matte surface that grips easily with tweezers without slipping. A good lash strip should have a non-sticky, clean base to allow effortless pick-up, which is critical for successful fan making. Choosing high-quality raw materials dramatically improves your learning curve and final results.
Can beginners really master fan making?
Absolutely — and faster than you might think, if you’re committed! Fan making is a technical skill, but it’s very achievable even for new lash artists when they use the right tools and follow the correct techniques.
Beginners should focus on practicing small 3D–5D fans first, using fine-tip professional tweezers and stable lash strips like our training-grade PBT lashes. Start by mastering basic “pinch” and “shimmy” methods, which are beginner-friendly techniques.
The secret is consistency: daily repetition trains your muscle memory. With focused practice (around 30–60 minutes a day) and correct hand positioning, most students show solid improvements within 4–8 weeks. Trust the process — perfection comes with patience!
How do I know if my lash fan is symmetrical?
Symmetry is crucial for clean, professional lash sets, and luckily, there’s a simple way to check. After making a fan, lay it flat on a clean white silicone pad or lash palette.
Inspect the following:
- Base: Is it tight and pointed like a needle?
- Legs: Are all lash extensions fanned out evenly, with no major gaps or clumps?
- Arms: Each side of the fan should mirror the other — equal length and even spacing.
If the fan tilts or looks “heavier” on one side, adjust your pickup or placement technique. Symmetrical fans improve not just aesthetics but also retention, because weight distribution will be balanced across the natural lash.
Pro Tip: Use a macro lens or take close-up pictures to spot tiny flaws beginners often miss with the naked eye.
How long does it take to master making lash fans?
Mastery depends entirely on practice frequency and technique refinement. If you set a goal to create at least 50–100 fans daily, you can expect noticeable mastery within 2–3 months.
Here’s a rough timeline:
- First 2 weeks: Learning the basics — grip, spacing, and forming even bases
- Weeks 3–6: Improving speed and symmetry, experimenting with different fanning techniques (shimmy, pinch, on-strip)
- Weeks 7–12: Building muscle memory, making consistent 5D–10D fans with minimal errors
Conclusion
If you’ve made it this far — congratulations, you’re serious about your lash artistry future.
Making lash fans isn’t about shortcuts or hacks.
It’s about understanding the materials, mastering techniques, and practicing until it feels like second nature.
As a manufacturer trusted by thousands of lash artists worldwide, we promise you:
When you invest in the fundamentals (and in premium tools), you’ll unlock a whole new level of skill — and business success.
Start slow.
Stay consistent.
And remember: Every perfect fan you create is one step closer to becoming the lash artist everyone talks about.
Contact us to start your eyelash business.